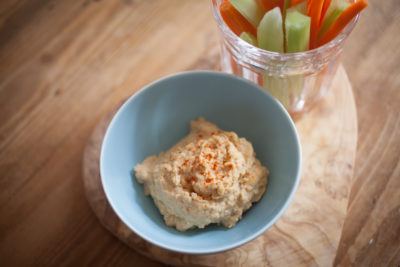
Making your own hummus is so easy. Plus, it’s so much cheaper and tastier than anything pre-made that you’ll wonder why you ever bothered buying it! Once you have a basic recipe sorted, you can go on to make all sorts of wild and crazy combinations.
Prep Time: 50 minutes
Serves: 1
Making your own hummus is so easy. Plus, it’s so much cheaper and tastier than anything pre-made that you’ll wonder why you ever bothered buying it! Once you have a basic recipe sorted, you can go on to make all sorts of wild and crazy combinations.
Prep Time: 50 minutes
Serves: 1
Special thanks to Victoria Harley for the image: split-pin.co.uk
Garlic tips: Some people dislike the taste of raw garlic. If this is you, here’s a little tip. Pop the cloves (skin on) into some water and allow to boil on the stove. Leave to simmer for about 20 minutes. Remove and peel (allow to cool a little first) and then add to the food processor. If you like the raw garlic taste but find it too strong initially, make your hummus a little in advance and leave it to chill in the fridge. This allows the flavors to soften.
Variations: Now you have your basic hummus down, have fun by experimenting with flavors. You can add olives, roasted garlic, chili, jalapeño, basil, artichokes, fresh herbs, etc. (Add these after you’ve done your flavor check.) My two current flavor obsessions involve sundried tomatoes (which would go well with most of the above suggestions); I make a sundried tomato and liquid smoke version (mesquite flavor, a teaspoon or two, with about 4-5 sundried tomatoes thrown in), and a sundried tomato and caper version (about the same number of tomatoes as the liquid smoke version, with a tablespoon or two of capers – I love capers!). Making your own combos is one of the best things about making your own hummus. Serve with crunchy veg, tortilla chips, and alongside other dips like guacamole.
Join in to receive a celebrity e-cookbook along with 31 days of inspiring recipes, nutrition tips and more. All our resources are 100% free!
